|
❶ |
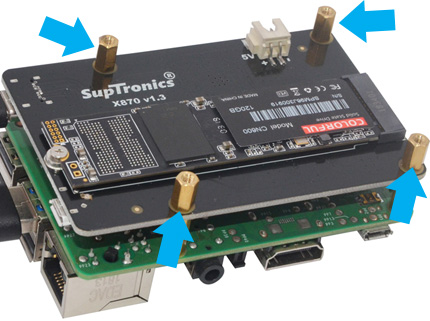
Push a M/F spacer
(M2.5*12mm) up through
the mounting hole on the topside of the X870 and
screw down with a F/F spacer
(M2.5*8mm) |
|
|
|
❷ |
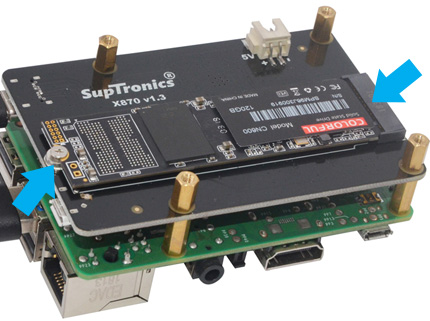
a) Insert your M.2 NVME
SSD into the M.2 socket.
b) Align the notches on the SSD with the notches in
the M.2
socket, then insert as shown.
c) Screw
(M2*4mm) the
SSD into place. |
|
 |
|
 |
| |
|
|
|
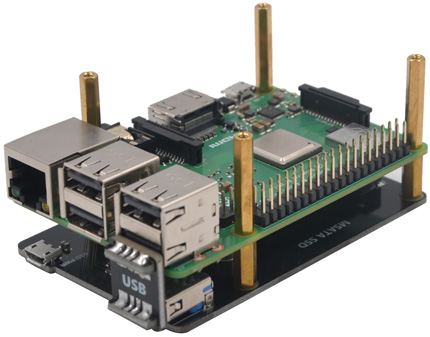
❸ |
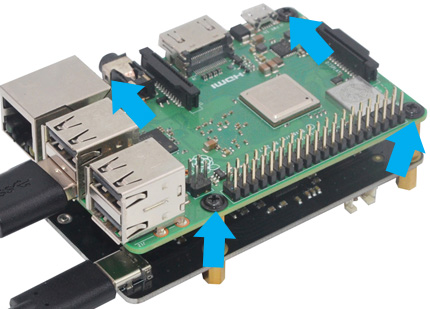
Place your Raspberry Pi
on top of X870 and screw down
(M2.5*6mm screws). |
|
|
|
❹ |
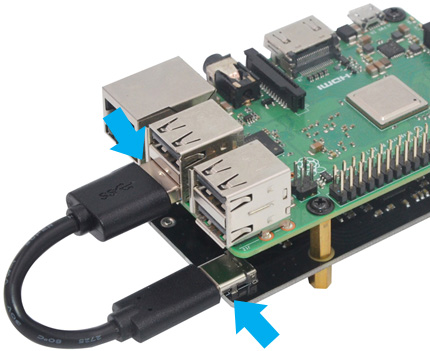
Connect the USB data
cable from Raspberry Pi to X870 |
|
 |
|
 |
| |
|
|
|
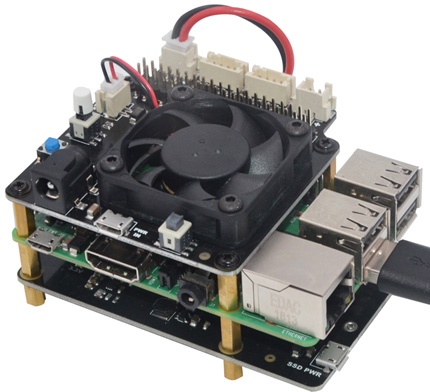
❺ |
Optional -To use with X730 / X735 /X700 /720 power
management board,
a) Unscrew 4 screws on the topside of Raspberry pi
b) Screw the spacer (M2.5*12mm
/ M2.5*20mm)
down until it
is hand tight |
 |
|
|
❻ |
Plugs the power
management board straight into your
Raspberry Pi's GPIO header and screw down
(M2.5*6mm) |
 |
| |
|
|
|
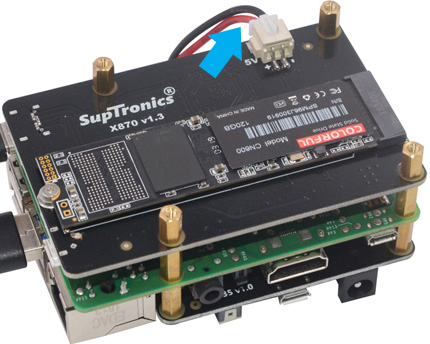
❼ |
Connect the 2-pin power
connection wire from the 5V connector on Power
management board to X870
Power adapter must be connected
to power management
board only , not X870 and Raspberry Pi |
|
|
|
 |
|
|
| |
|
|