|
❶ |
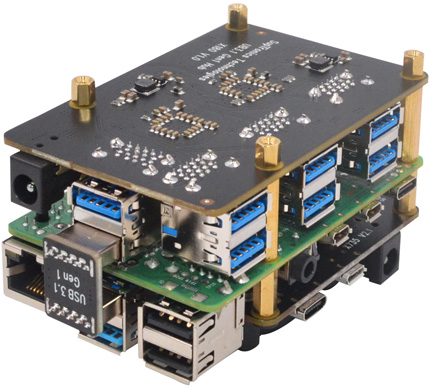
Attach the 20mm F/F
spacer to the top of the X180 mounting holes by
inserting the 5mm M/F spacers from the bottom of
the X180. |
|
|
|
❷ |
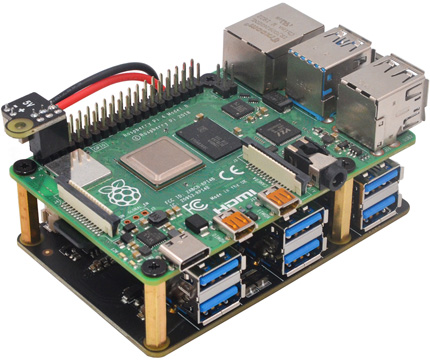
Attach the Rpi to the
X180's spacers and secure in place using the M2.5
screws. |
|
 |
|
 |
| |
|
|
|
❸ |
a) Plugs the power
daughter straight into your Raspberry Pi
B+'s GPIO
header
b) Plugs the power cable into the "5V'
female sockets on the
power daughter board and X180
c) Plugs the USB jumper into the Rpi's and X180's
USB3 ports |
|
|
|
❹ |
Optional -To use with
X735 /
X710 /
X765 power
mgmt board
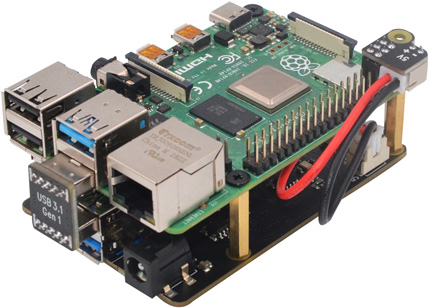
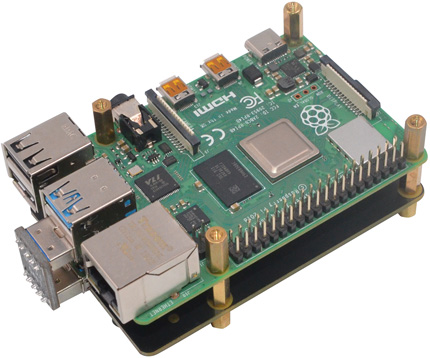
a) Unscrew 4 screws and spacer on
the topside of Rpi
b) Screw the M/F spacer
(M2.5*12mm) down until it is
hand
tight |
|
 |
|
 |
| |
|
|
|
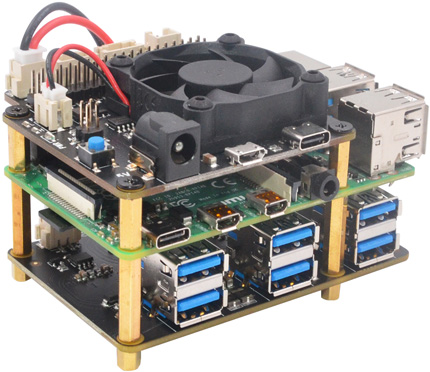
❺ |
Optional -To use with
X735 power
mgmt board
Plugs the X735 straight into your Raspberry Pi's GPIO header and screw down (M2.5*5mm
screws)
Power adapter must be
connected to the X735 only , not Raspberry Pi and X180. |
|
|
|
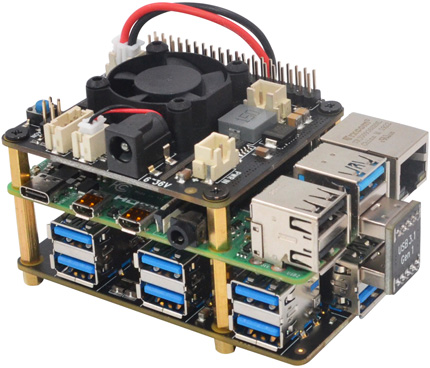
❻ |
Optional -To use with
X710 power mgmt board
Plugs the X710 straight into your Raspberry Pi's GPIO header and screw down (M2.5*5mm
screws)
Power adapter must be
connected to the X710 only , not Raspberry Pi and X180. |
|
 |
|
 |
| |
|
|
|
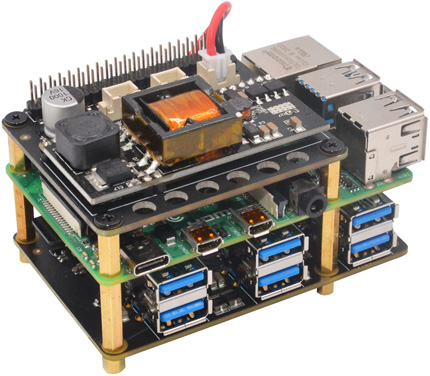
❼ |
Optional -To use with
X765
power mgmt board
Plugs the X765 straight into your Raspberry Pi's
GPIO header and screw down
(M2.5*5mm screws)
Don't
connect any power adapter to Raspberry Pi and X180
when powering over Ethernet. |
|
|
|
 |
|
|