|
❶ |
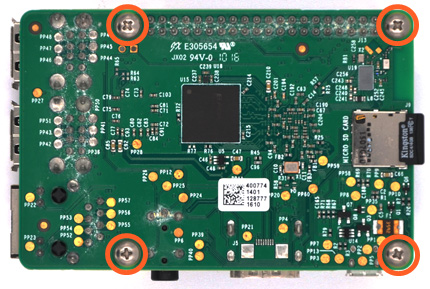
Push a screws
(M2.5*6mm) up through
the mounting hole on the underside of the Raspberry
Pi. |
|
|
|
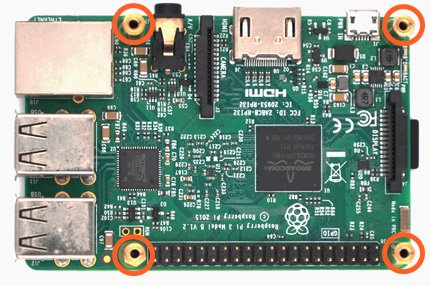
❷ |
Screw the spacer (M2.5*20mm)
down until it is hand tight |
|
 |
|
 |
| |
|
|
|
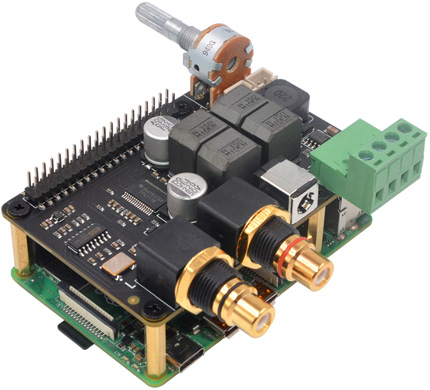
❸ |
Plugs the X5500 board
straight into your Raspberry Pi B+'s GPIO header and
screw down
(M2.5*5mm) |
|
|
|
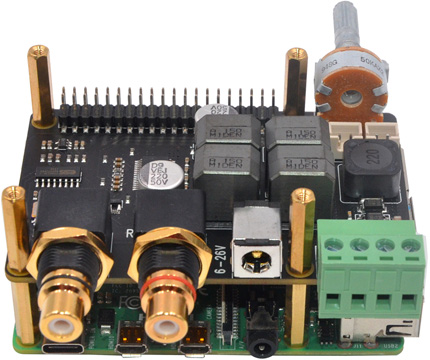
❹ |
Optional -To use with
X710
power mgmt board
a) Unscrew 4 screws and
spacer on the topside of X5500
b) Screw the M2.5*20 M/F spacer
down until it is hand tight
c) Remove the "PWR" jumper from 6-pin function
header |
|
 |
|
 |
|
|
|
|
|
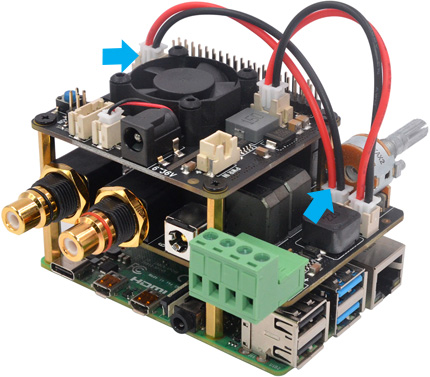
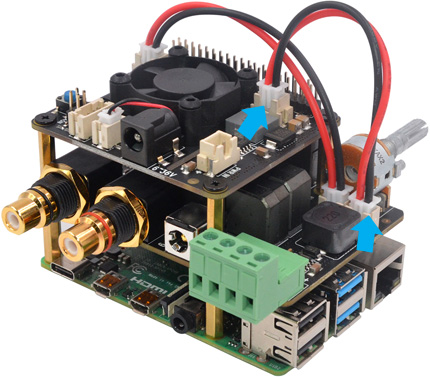
❺ |
a)Plugs the X710 board
straight into your X5500's GPIO
header and
screw down
(M2.5*5mm)
b)Plug in the 2-pin cable into the female
connectors of "5V
out" on the X710 and "PWR EN" on the X5500. |
|
|
|
❻ |
Plug in the 2-pin cable
into the female connectors of "5V out (not
controlled)" on the X710 and "5V out" on the X5500. |
|
 |
|
 |
| |
|
|
|
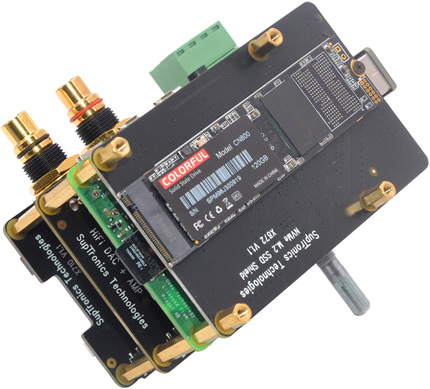
❼ |
Optional -To use with
X850
/
X872 /
X860
SSD storage board
a) Unscrew 4 screws and
spacer on the bottom side of Rpi
b) Screw the M2.5*12 M/F spacer
down until it is hand tight |
|
|
|
❽ |
Attach the
X850
/
X872 /
X860
SSD storage board to the
Rpi's spacers and secure in place using the M2.5*8
M/F
screws. |
|
|
|
|
 |